How to Reduce Echo in a Sports Facility: A Step-by-Step Guide
Reduce echo in your sports facility with this proven step-by-step approach. From measuring reverberation to selecting the right acoustic panels, here's how to make your space comfortable without a six-figure consulting fee.
Echo makes sports facilities uncomfortable, exhausting, and sometimes dangerous. Players can't hear coaches. Staff develop noise fatigue. Members complain — or leave. Here's how to fix it, step by step.
Step 1: Understand What's Causing the Echo
Echo in a sports facility is caused by sound waves reflecting off hard surfaces — walls, ceilings, floors, glass. The technical term is reverberation, measured as RT60 (the time for sound to decay by 60 dB).
Most untreated sports facilities have RT60 values between 3.0 and 5.0+ seconds. The target for comfortable, safe acoustics is 1.2–1.8 seconds.
Step 2: Measure Your Current RT60
You can estimate RT60 using the Sabine equation:
RT60 = 0.161 × Volume (m³) / Total Absorption (sabins)
Or skip the math and use the SLN/CR Acoustic Snapshot tool, which calculates it from your room dimensions and materials automatically.
Step 3: Identify Your Target
Your target RT60 depends on how the space is used: - Dedicated pickleball: 1.0–1.5s - Multi-sport gymnasium: 1.2–1.8s - Converted warehouse: 1.5s (starting from 4.0–6.0s) - Community recreation center: 1.2–1.5s
Step 4: Calculate Required Absorption
The gap between your current absorption and your target tells you how much treatment you need. This is where material selection matters enormously.
Low-NRC materials (0.35–0.55) require massive coverage. High-NRC materials (0.85–1.15) achieve the same result with 40–60% less material. The SLN/CR Core panel system rates between NRC 0.70 and 1.15, meaning less coverage, lower cost, and faster installation.
Step 5: Choose Placement Strategically
Where you put acoustic treatment is as important as how much you use:
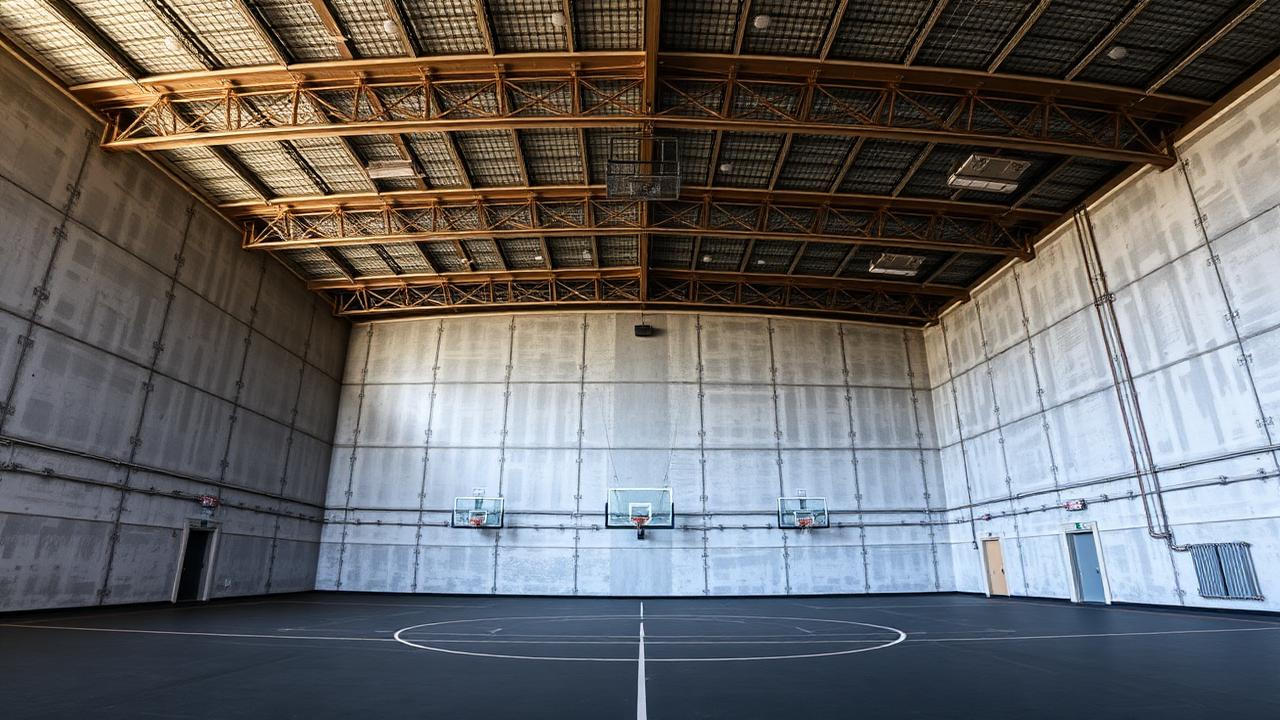
- Upper walls (above 8 ft): First priority. This is where sound reflects most aggressively in high-ceiling spaces. - Ceiling: Second priority. Open-truss and steel deck ceilings are massive reflectors. Hanging baffles or ceiling-mount panels address this. - End walls: Third priority. Walls behind courts receive direct ball-impact noise. - Avoid floor-level placement: Panels below 4 ft are vulnerable to ball and equipment damage.
Step 6: Select the Right Product Category
This is where most people get confused. There are two acoustic rating systems, and they solve different problems:
- NRC (Noise Reduction Coefficient): Measures sound absorption. Used for indoor echo/reverberation. This is what you need for echo reduction. - STC (Sound Transmission Class): Measures sound blocking. Used for preventing noise from passing through walls to adjacent spaces.
Using STC-rated products to solve an echo problem is like putting a fence inside your house to stop an echo. Wrong tool, wrong problem.
Step 7: Install and Verify
After installation, verify the improvement. You should notice an immediate difference in speech clarity and perceived noise level. For data-driven verification, re-measure RT60 and compare against your pre-treatment baseline.
The Shortcut: Free Acoustic Snapshot
Steps 2 through 4 can be completed automatically with the SLN/CR Acoustic Snapshot tool. It calculates your current RT60, recommends a target, and specifies exactly how much treatment you need — personalized to your facility.
Get your free Acoustic Snapshot at slncr.com/assessment
Ready to solve your noise challenge?
Get a Free Noise Assessment